🍕 Pizza Making Gear
For many years I’ve wished to learn to make my own Pizza. I have many friends who do so successfully and that inspired me to get going! Now we make pizza every Saturday night at our house.
To hopefully inspire you - I have never made any kind of dough in my life. I was starting from total scratch. I’ve experimented with many different techniques and gadgets and have settled on a repeatable path that I like.
You don’t need much to make pizza from scratch. When I started I made Pizza in our Jenn Air oven with a Baking Steel. While it did not produce a true Neapolitan pizza, it made something I like to eat! From there I have shifted my pizza making to cook in an outdoor pizza oven. The main differences from cooing in a regular oven on a baking steel vs a pizza oven are that your cooking time is dramatically faster - 1-2 min vs 10 minutes and the dough cooks “softer” vs crispier.
Here is a pizza we made last night that my daughter put together with pepperoni and kalamata olives
Pizza Ovens
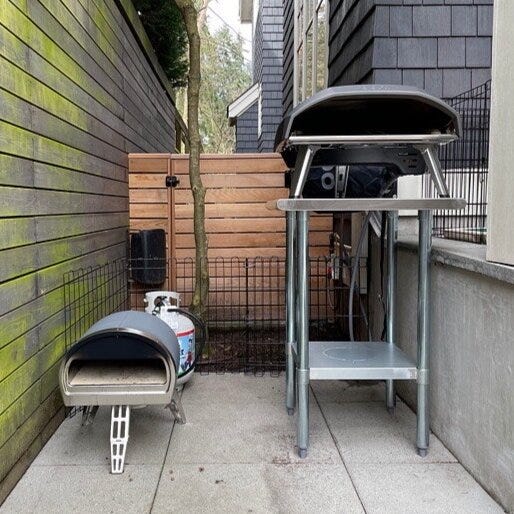
There are two big home pizza oven companies out there - Ooni and Gozney. I own one oven from each. Why? Well I started with the Gozney Roccbox. This oven operates off a standard propane tank or you can convert it to a wood feature. I prefer cooking with gas since it’s very quick to get going.
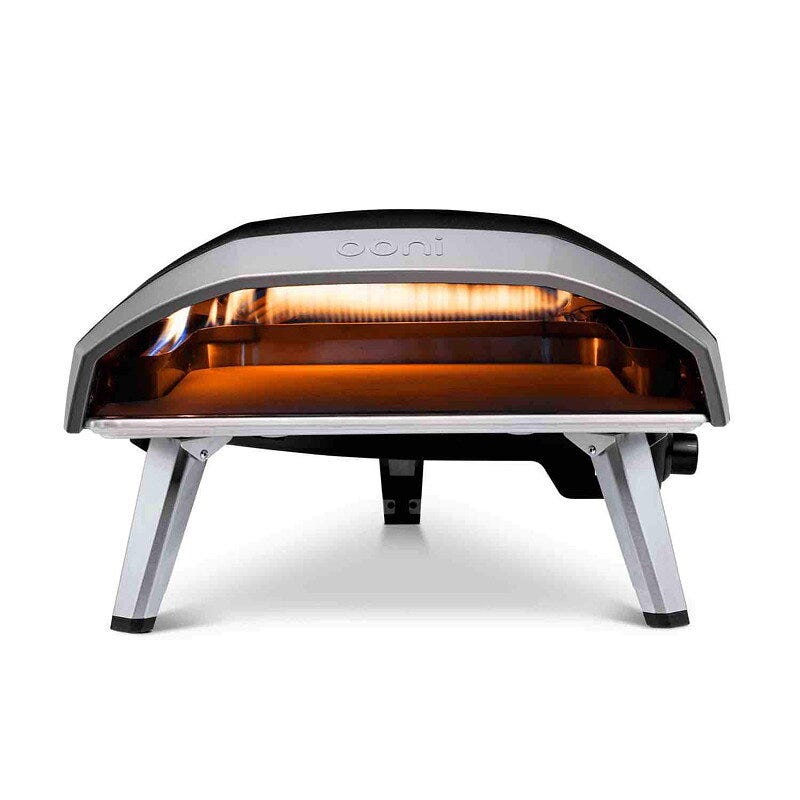
I made a few pizzas on the Roccbox and then learned that Ooni makes a model that can be hooked up to a Natual Gas line (which I have). I hate getting propane tanks re-filled so I decided to take our Roccbox to our cabin and purchase the Oono Koda 16 and the natural gas conversion kit for unlimited pizza cooking.
The ovens differ in size but they both cook at up to 1000 degrees which will cook your pizza in 60-90 seconds. There are pros and cons to both ovens so I think it really comes down to preferences.
Gozney Roccbox
👍🏾 Has a silicon “cool touch” outdoor surface
👍🏾 Is portable and collapses into small size
👍🏾 Pizza peel is superior
👍🏾 Has built in thermometer
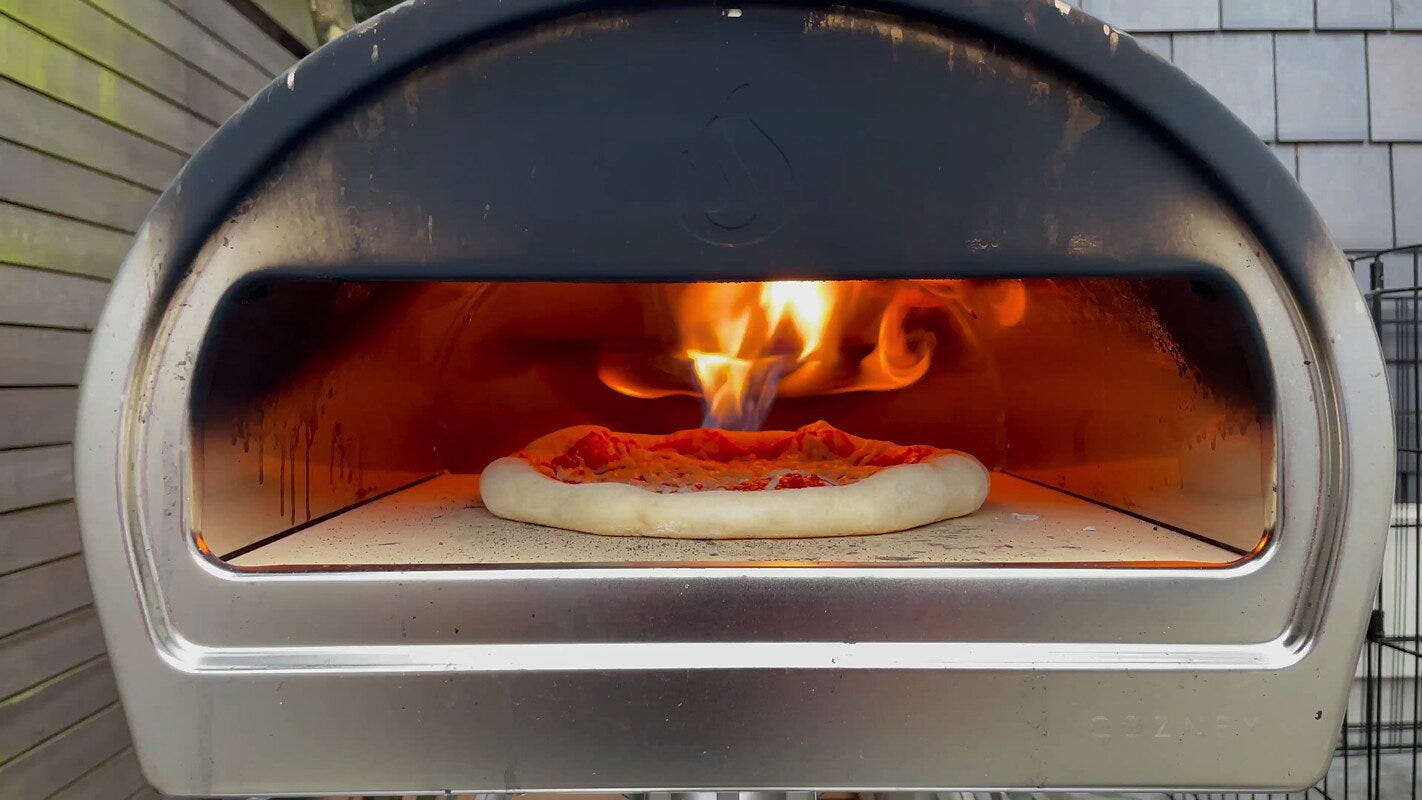
👎🏾 The front stainless steel gets covered in soot from the flame
Ooni Koda 12
👍🏾 Nice modern and low profile look
👍🏾 linear flame in the back creates a more even surface
👎🏾 no thermometer
👎🏾 does not come with pizza peel
Ooni Koda 16
👍🏾 Nice large cooking surface with L shaped grill so you turn the pizza only once
👍🏾 Approximately same footprint as Roccbox
👍🏾 Can be converted from Liquid Propane to Natural Gas
👎🏾 no thermometer
👎🏾 does not come with pizza peel
I think they are both great, you can’t really go wrong.
Soot from the Roccbox
Pizza Oven Tools
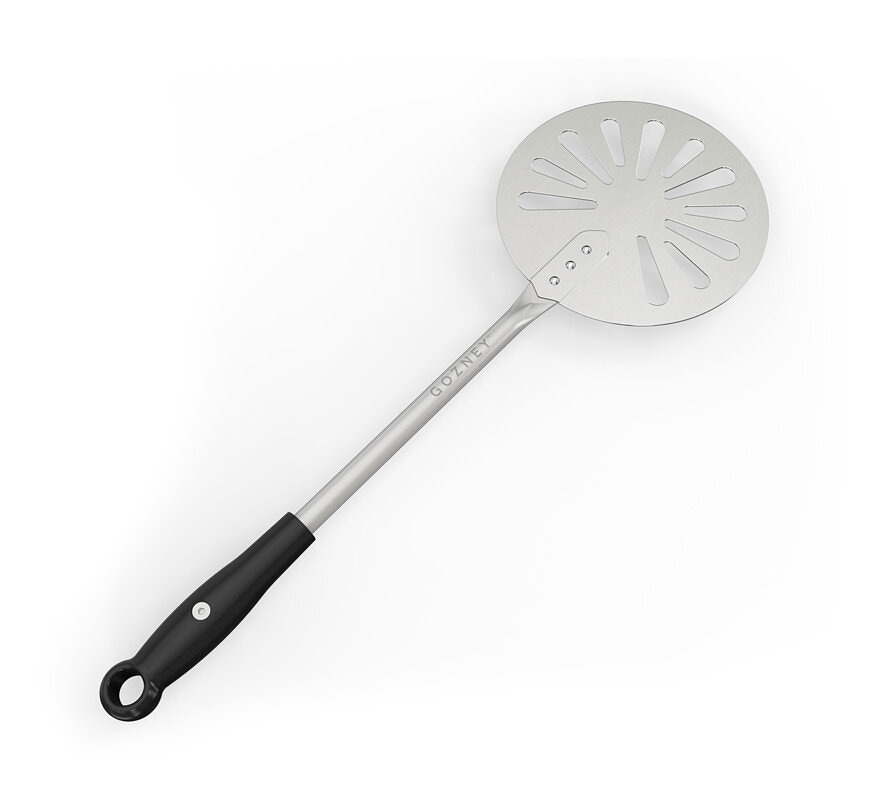
The Roccbox Turning Peel is the best peel period. It’s the right length and I use this with both ovens. The Ooni model is too long. This peel has just one job. It turns the pizza in the oven and removes the pizza when done cooking. I use the launching peel below for only dressing and launching the pizza. This keeps it cool and clean. Any moisture or sticky parts will make launching more pizza difficult.
The Roccbox Pizza Peel is the best peel for launching a pizza. I’ve tried half a dozen - wood, bamboo, metal, metal with holes. What makes the Roccbox Pizza Peel the winner? Nonstick aluminum, just the right size, the dough doesn’t get stuck. I dust it will a small amount of semolina flour.
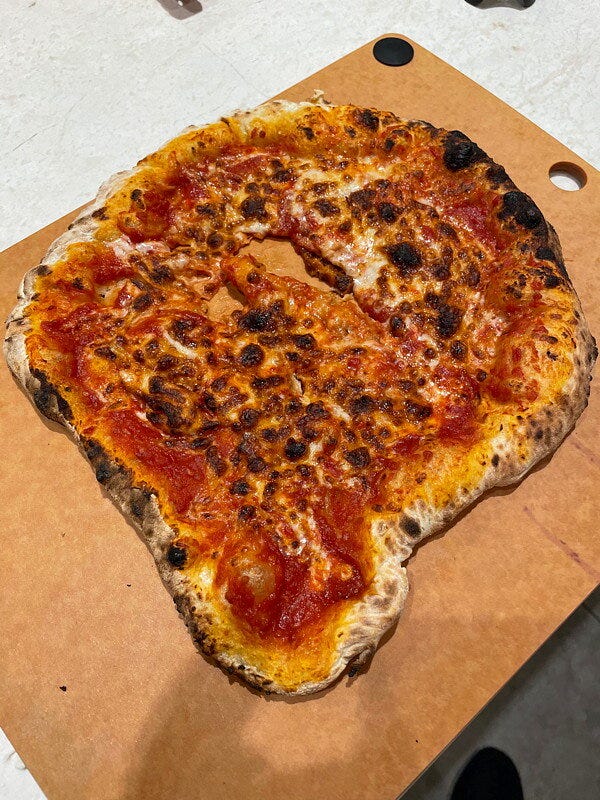
The worst and most frustrating part of making pizza is when your dough gets stuck to the pizza peel and won’t launch. What you end up with looks like this:
Launching your pizza takes some practice. What I have learned to avoid any stuck dough is to:
Flour both sides of the boule before you shape it.
Flour the peel with some semolina flour. This flour burns at a lower temperature in the oven and won’t leave a black mess all over your pizza and oven like pizza flour does.
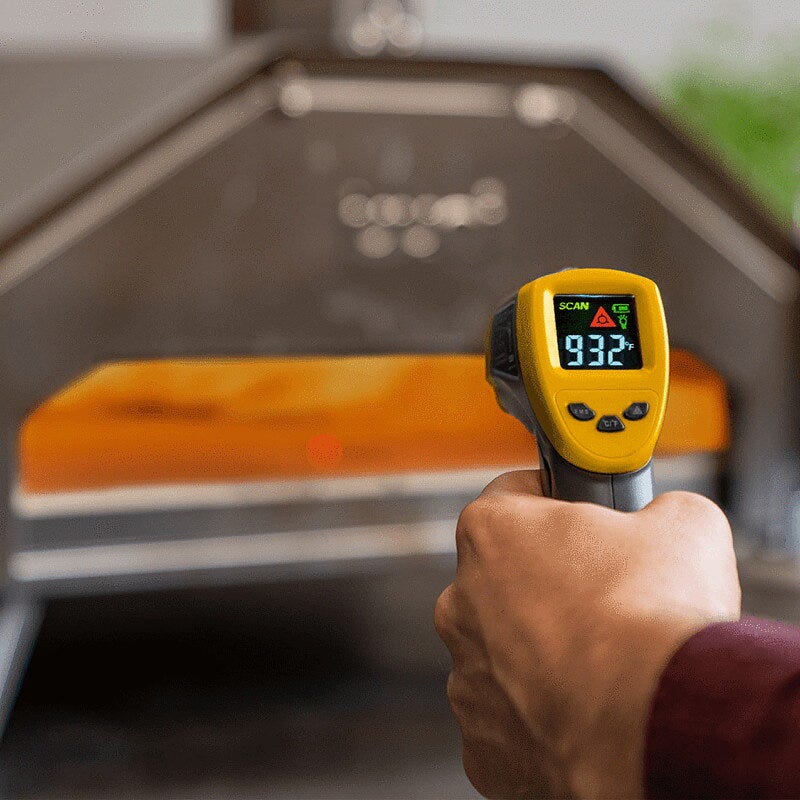
The Ooni Digital Thermometer is quite good as it can read temperatures up to 1000 degrees.
Making Dough
This is probably the most important thing and you’ll find SO MANY different approaches to making dough.
Recipe
My friend Kelsi, who has been my Pizza guru, hooked me on the Pizza Dough recipe from Pizza Camp: Recipes from Pizzeria Beddia. this dough requires 28 hours and it’s a bit more of a commitment. What you get is amazing tasting dough. I have tried a few other recipes that you can basically start and finish in 1-2 hours, but the taste is not there and the dough not as easy to work with.
The recipe from Pizza Camp is adapted slightly and it makes roughly four 220g boules that each produce four 10-12 inch pizzas. I convert all ingredients into grams as it’s much easier and more accurate to weigh things.
Ingredients
355g warm water, heated to 105˚
5g sugar
1.5g (1/2 tsp) active dry yeast
15g (1 Tbsp) olive oil
500g all-purpose flour
10g (1 Tbsp + ½ tsp) fine sea salt
Directions
Figure out the day/time you want to make pizza. You need about 28 hours prior to cooking time.
Whisk your water, sugar, and yeast in the bowl of your mixer and let sit 5-10 minutes until the yeast is bubbly.
Add olive oil and flour and then mix until everything is just incorporated.
Switch off mixer, cover bowl with a dish towel or plastic wrap and set a timer for 30 minutes.
When timer goes off, add the salt and mix until fully incorporated.
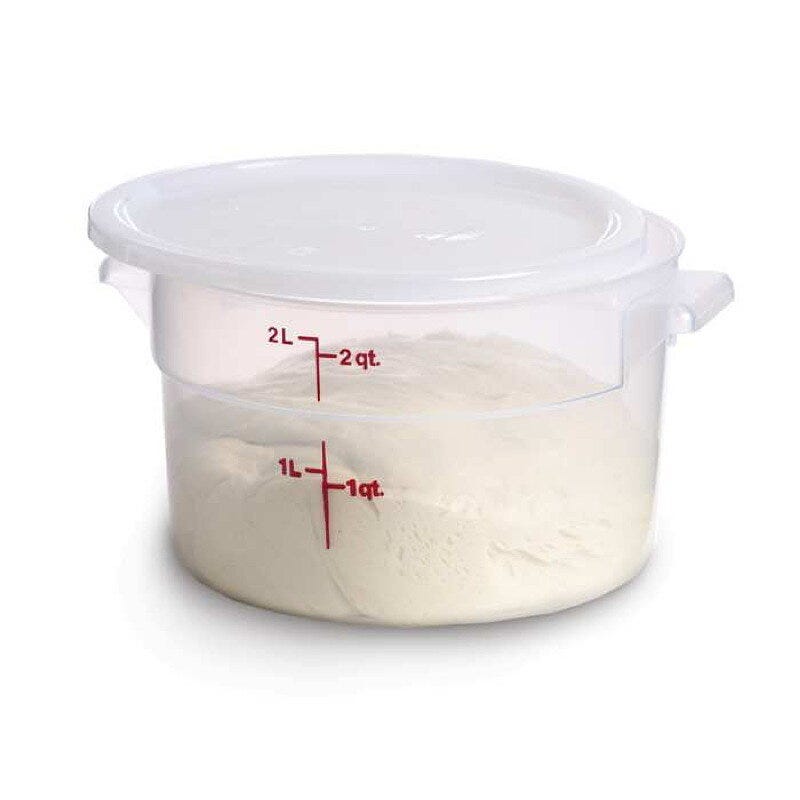
Scrape the dough into the 2qt container and cover with the lid. Put in the fridge for a full 24 hours.
After 24 hours
Dump the dough onto your well-floured counter. Using a bench scraper cut the dough into about 200g portions
Shape your boules and place each one on place into the dough proofing container.
Lightly dust each of the boules with flour and then cover with lid.
Let sit for 3-4 hours until hopefully, they’ve doubled in size.
Pizza Sauce
I make the pizza sauce right before making the pizzas. It’s very simple.
Ingredients
One can of 15oz Centro crushed tomatoes
1 clove of garlic grated
1 tsp fine sea salt
1 Tbsp of Olive Oil
Directions
Mix in a bowl
Tools
You can make the dough by hand, but I chose to use a stand mixer that we also now use to make pasta!
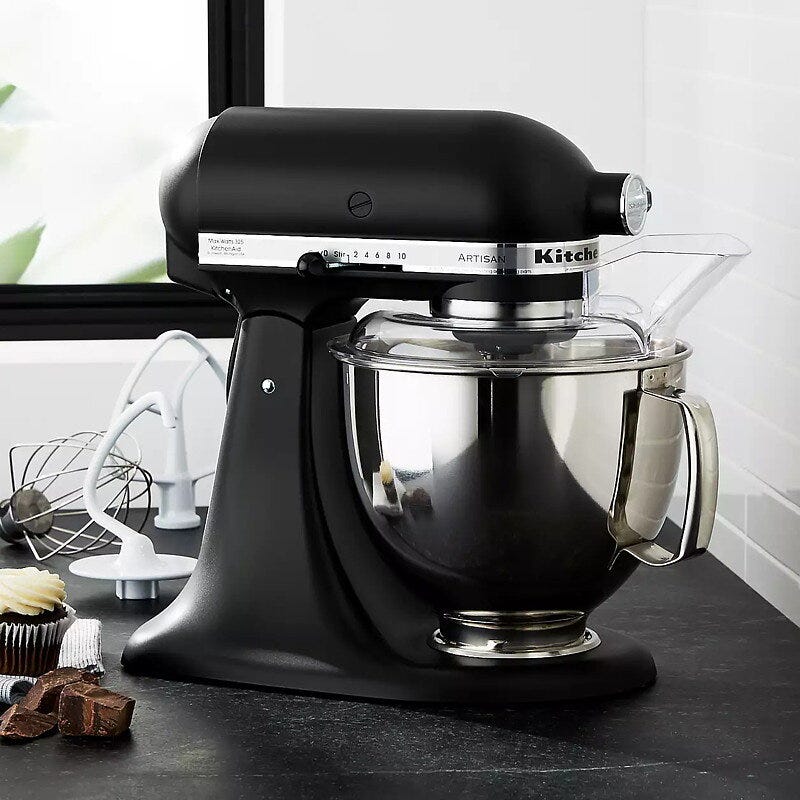
The Kitchen Aid Artisan Series 5-Quart Tilt-Head Matte Black Stand Mixer is what we own (they also make a tiny small version if space is an issue).
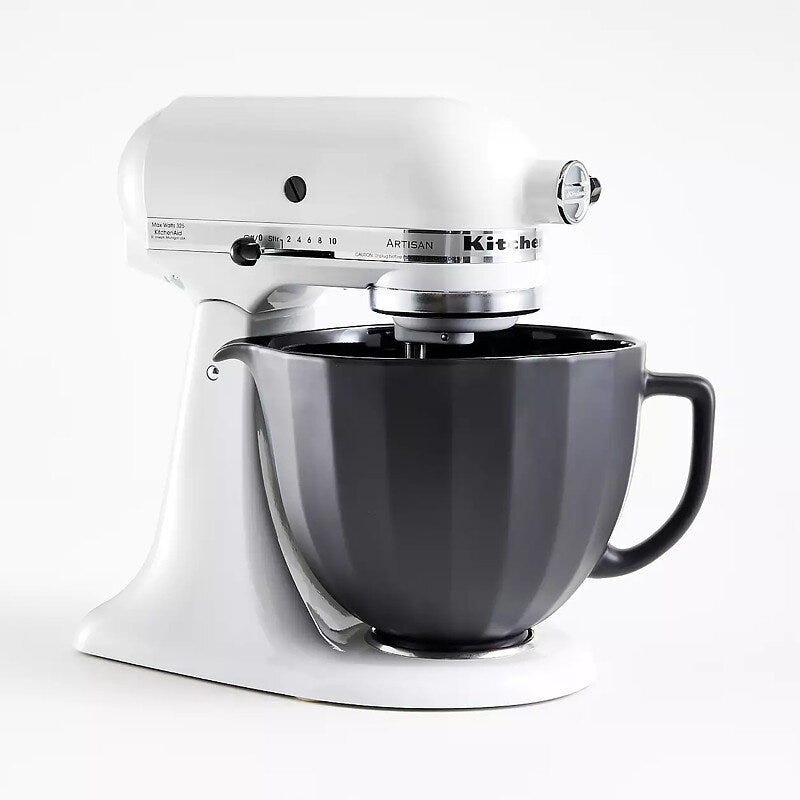
I love matte black appliances and they look oh so good. Kitchen Aid even makes Matte Black ceramic bowls if you want that total Darth Vader look.
I store my pizza flour from Fairhaven Mill and semolina flour from King Arthur in these Flour Buckets (Small and Medium)
I use a Cambro 2qt Standard Dough-Rising Bucket for proofing the Dough.
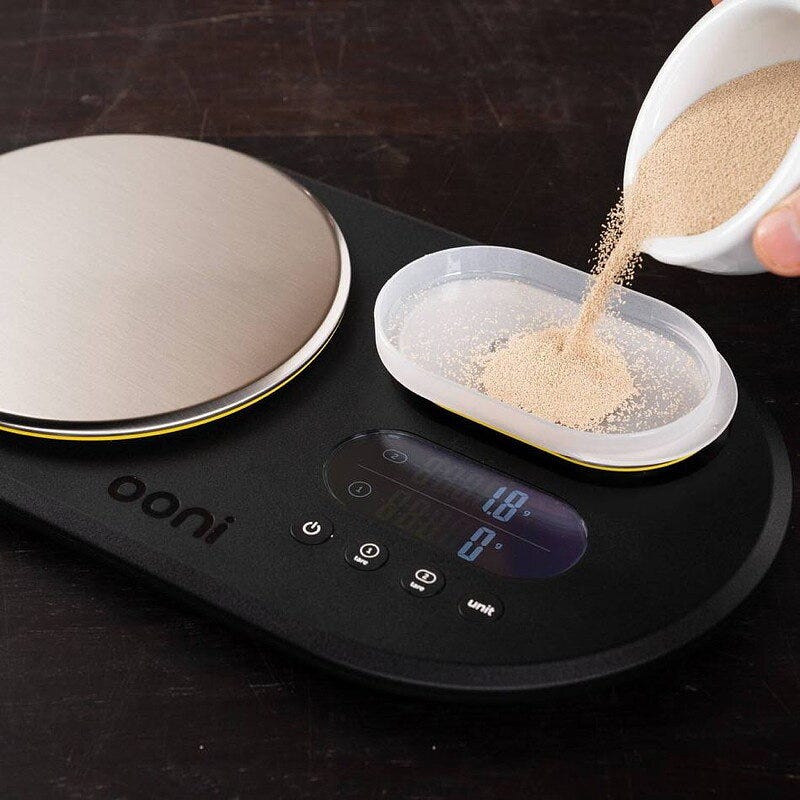
I use the Ooni scale for measuring ingredients and yeast. It has a really cool design with two scales, one sensitive to 1/10 of a gram and the other 1g.
After proofing the dough for 24h in the fridge, I remove them, shape the boules, and then proof and room temperature for 4h in DoughMate Artisan Dough Tray Kit.
Ingredients that I use
I purchased the complete Yeast Set which comes with Saf-Instant dry yeast and a storage container for the fridge.
I use organic 00 Pizza Flour from Fairhaven Mill (local in Washington).
I use organic Cento Crushed Tomatoes, 15 Ounce (Pack of 12). I like the 15 Ounce cans as this makes enough sauce for 6-8 pizzas and also the Cento Organic San Marzano crushed tomatoes. The consistency of Crushed is just perfect for pizza.
The best pepperoni is the Organic Valley Organic Uncured Pepperoni Slices - it curls up and burns right on the edges.
I also like the Organic Valley Thick and Regular shredded Mozarella.
I hope this helps you get started or maybe you discovered some tools here that will help you out. I have made pizza in the oven now about 8 times. It takes practice and it’s not unusual to get frustrated as you learn. how to make the dough, how to dress your pizza, and how to launch and cook it.


